
This is a quick demo on how to add jQuery UI to your MVC project in Visual Studio 2015 but the process applies to earlier versions as well. For this example, I’ll use the accordion widget.
This is how the page looks before applying the accordion widget…

and after…
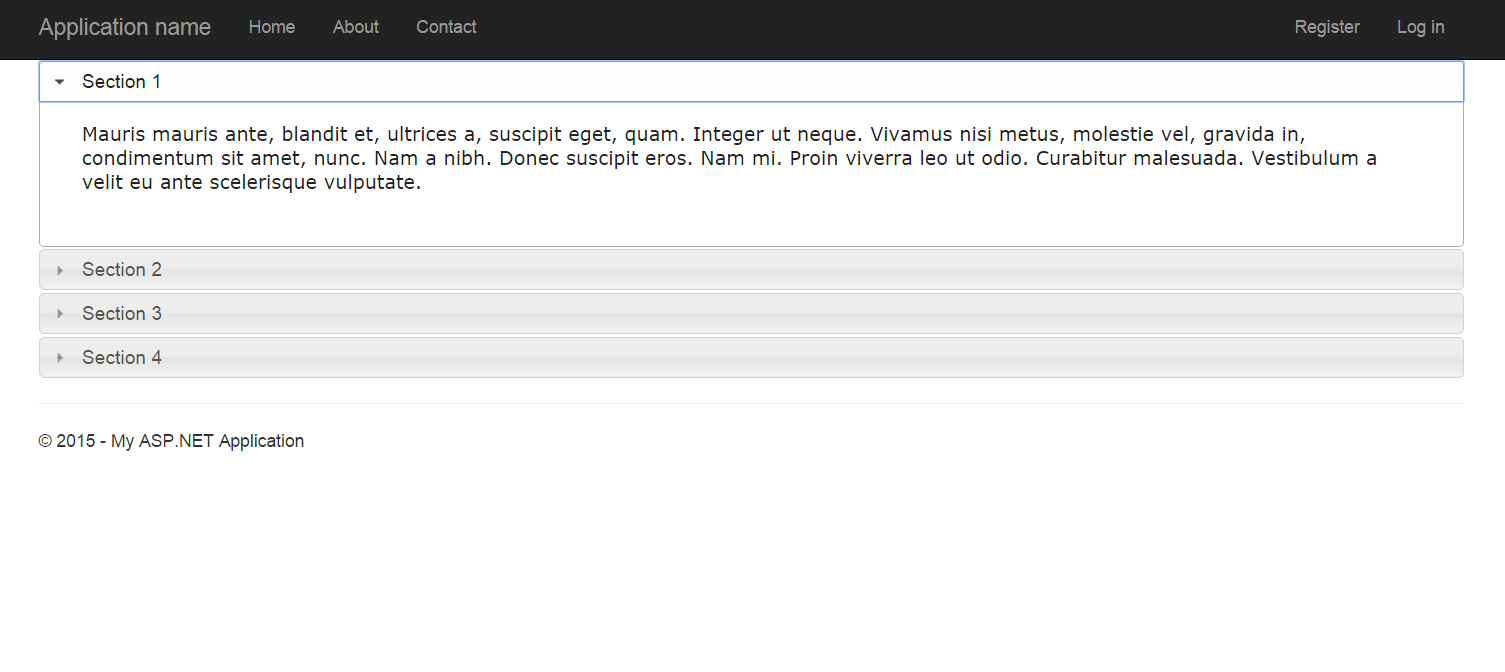 The index.cshtml markup:
@{
    ViewBag.Title = "Home Page";
}

<div id="accordion" class="prettyprint">
    <h3>Section 1</h3>
    <div>
        <p>
            Mauris mauris ante, blandit et, ultrices a, suscipit eget, quam. Integer
            ut neque. Vivamus nisi metus, molestie vel, gravida in, condimentum sit
            amet, nunc. Nam a nibh. Donec suscipit eros. Nam mi. Proin viverra leo ut
            odio. Curabitur malesuada. Vestibulum a velit eu ante scelerisque vulputate.
        </p>
    </div>
    <h3>Section 2</h3>
    <div>
        <p>
            Sed non urna. Donec et ante. Phasellus eu ligula. Vestibulum sit amet
            purus. Vivamus hendrerit, dolor at aliquet laoreet, mauris turpis porttitor
            velit, faucibus interdum tellus libero ac justo. Vivamus non quam. In
            suscipit faucibus urna.
        </p>
    </div>
    <h3>Section 3</h3>
    <div>
        <p>
            Nam enim risus, molestie et, porta ac, aliquam ac, risus. Quisque lobortis.
            Phasellus pellentesque purus in massa. Aenean in pede. Phasellus ac libero
            ac tellus pellentesque semper. Sed ac felis. Sed commodo, magna quis
            lacinia ornare, quam ante aliquam nisi, eu iaculis leo purus venenatis dui.
        </p>
        <ul>
            <li>List item one</li>
            <li>List item two</li>
            <li>List item three</li>
        </ul>
    </div>
    <h3>Section 4</h3>
    <div>
        <p>
            Cras dictum. Pellentesque habitant morbi tristique senectus et netus
            et malesuada fames ac turpis egestas. Vestibulum ante ipsum primis in
            faucibus orci luctus et ultrices posuere cubilia Curae; Aenean lacinia
            mauris vel est.
        </p>
        <p>
            Suspendisse eu nisl. Nullam ut libero. Integer dignissim consequat lectus.
            Class aptent taciti sociosqu ad litora torquent per conubia nostra, per
            inceptos himenaeos.
        </p>
    </div>
</div>

@section scripts
{
    <script>
        $('#accordion').accordion();
    </script>

}
Notice at the bottom the @scripts section. This is defined in your _Layout.cshtml view. There you will find the @RenderSection method being called as you can see below:
_Layout.cshtml
    ...

    @Scripts.Render("~/bundles/jquery")
    @Scripts.Render("~/bundles/bootstrap")

    @RenderSection("scripts", required: false)
</body>
</html>
1) Install jQuery.UI.Combined
jQuery is already included in your project but not jQuery-UI. Install jQuery.UI.Combined with the Nuget Package Manager. This package includes all of the jQuery-UI widgets and animations.

A quicker way of installing it is by typing the following command in the Package Manager Console:
PM> Install-Package jQuery.UI.Combined
2) Add the jQuery-UI script and style bundles
Add the script and style bundles to your BundleConfig.cs file in the App_Start folder.
using System.Web;
using System.Web.Optimization;

namespace jQueryDemo
{
    public class BundleConfig
    {
        public static void RegisterBundles(BundleCollection bundles)
        {
            bundles.Add(new ScriptBundle("~/bundles/jquery").Include(
                        "~/Scripts/jquery-{version}.js"));

            bundles.Add(new ScriptBundle("~/bundles/jqueryval").Include(
                        "~/Scripts/jquery.validate*"));

            // Add the jquery-ui script bundle
            bundles.Add(new ScriptBundle("~/bundles/jquery-ui").Include(
                        "~/Scripts/jquery-ui-{version}.js"));

            // Add the jquery-ui css bundle
            bundles.Add(new StyleBundle("~/Content/themes/base/css").Include(
                        "~/Content/themes/base/all.css"));

            bundles.Add(new ScriptBundle("~/bundles/modernizr").Include(
                        "~/Scripts/modernizr-*"));

            bundles.Add(new ScriptBundle("~/bundles/bootstrap").Include(
                      "~/Scripts/bootstrap.js",
                      "~/Scripts/respond.js"));

            bundles.Add(new StyleBundle("~/Content/css").Include(
                      "~/Content/bootstrap.css",
                      "~/Content/site.css"));
        }
    }
}
3) Call the Script and Style Render Methods in the Layout View
Finally, call the @Scripts.Render() and @Styles.Render() methods in your _Layout.cshtml after the jQuery render method is called.
    ...

    @Scripts.Render("~/bundles/jquery")
    @Scripts.Render("~/bundles/bootstrap")

    <!-- Including the jquery-ui script and style bundles -->
    @Scripts.Render("~/bundles/jquery-ui")
    @Styles.Render("~/Content/themes/base/css")

    @RenderSection("scripts", required: false)
</body>
</html>
That’s it! Build your project, refresh the page, and enjoy the results. If you don’t include the installation, it’s basically a two-step process. Include the script and style bundles in your BundleConfig file and call the render methods from your layout view.
Applying a theme
If the base theme is too plain-looking you might want to go for one of the many different themes offered by jQuery-UI. Let’s go ahead an apply the Redmond theme to our project. Begin by installing jQuery.UI.Themes through the Nuget Package Manager. This package includes all of the jQuery themes in one download.

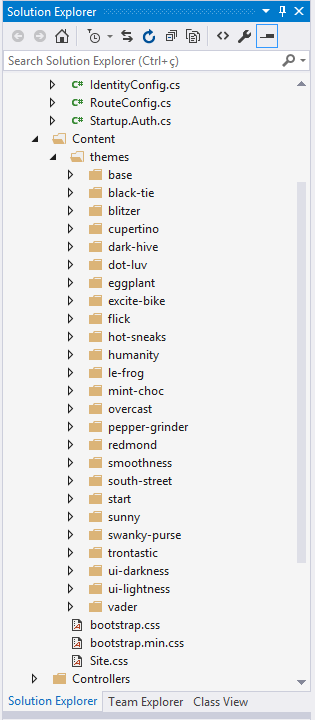
Once it’s installed check that the themes appear in your solution explorer in the Content > Themes folder.
Now you need to add the theme’s style bundle in your BundleConfig.cs file and remove the base theme. In our case, we’ll make sure the style bundle points to redmond/jquery-ui-redmond.css.
using System.Web;
using System.Web.Optimization;

namespace jQueryDemo
{
    public class BundleConfig
    {
        public static void RegisterBundles(BundleCollection bundles)
        {
            bundles.Add(new ScriptBundle("~/bundles/jquery").Include(
                        "~/Scripts/jquery-{version}.js"));

            bundles.Add(new ScriptBundle("~/bundles/jqueryval").Include(
                        "~/Scripts/jquery.validate*"));

            bundles.Add(new ScriptBundle("~/bundles/jquery-ui").Include(
                        "~/Scripts/jquery-ui-{version}.js"));

            // Removing the base theme.
            // bundles.Add(new StyleBundle("~/Content/themes/base/css").Include(
            //            "~/Content/themes/base/all.css"));

            // Adding the 'redmond' style bundle.
            bundles.Add(new StyleBundle("~/Content/themes/redmond/css").Include(
                        "~/Content/themes/redmond/jquery-ui.redmond.css"));


            bundles.Add(new ScriptBundle("~/bundles/modernizr").Include(
                        "~/Scripts/modernizr-*"));

            bundles.Add(new ScriptBundle("~/bundles/bootstrap").Include(
                      "~/Scripts/bootstrap.js",
                      "~/Scripts/respond.js"));

            bundles.Add(new StyleBundle("~/Content/css").Include(
                      "~/Content/bootstrap.css",
                      "~/Content/site.css"));
        }
    }
}
Finally, head to your _Layout.cshtml and change @Styles.Render(“~/Content/themes/base/css”) to @Styles.Render(“~/Content/themes/redmond/css”)
    ...

    @Scripts.Render("~/bundles/jquery")
    @Scripts.Render("~/bundles/bootstrap")

    <!-- Including the jquery-ui script and style bundles -->
    @Scripts.Render("~/bundles/jquery-ui")
    @Styles.Render("~/Content/themes/redmond/css")

    @RenderSection("scripts", required: false)
</body>
</html>
Rebuild the project and the theme should now be active when you launch the application.


Thanks for such a clear set of instructions!
LikeLike
nice very helpful
thank you very much
LikeLike